Using Visual Studio for Mac you can publish your .NET Core projects to a folder using the Publish tool. After publishing to a folder you can transfer the files to our hosting. To publish to a folder follow these steps.
Open Visual Studio for Mac. On the Start Screen, select New Project
This will display the New Project dialog, allowing you to select a template to create your application.
Select the ASP.NET Core Empty Web Application and press Next. Give the Project a Name and
press Create. This creates a new ASP.NET Core app.
The ASP.NET Core Empty template creates a web application with two default files: Program.cs and Startup.cs. It also creates a Dependencies folder, which contains your project's NuGet package dependencies such as ASP.NET Core, the .NET Core framework, and the MSBuild targets that build the project. You can build your project there first. After everything is done, In the Solution Window, right-click the project and choose Publish.
To publish this project to a folder for the first time, select Publish to Folder. The Publish to Folder dialog appears. On this dialog you can customize the folder where the project will be published. You can use the Browse button to do this, or paste in a path.
After clicking Publish a few things happen. First a publish profile is created. A publish profile is an MSBuild file that is imported into the project during the publish process. It contains the properties that are used during the publish process. These files are stored in the Properties/PublishProfiles and have the extension .pubxml. Next, the publish process is started. You can monitor the progress by watching the status bar in Visual Studio for Mac.
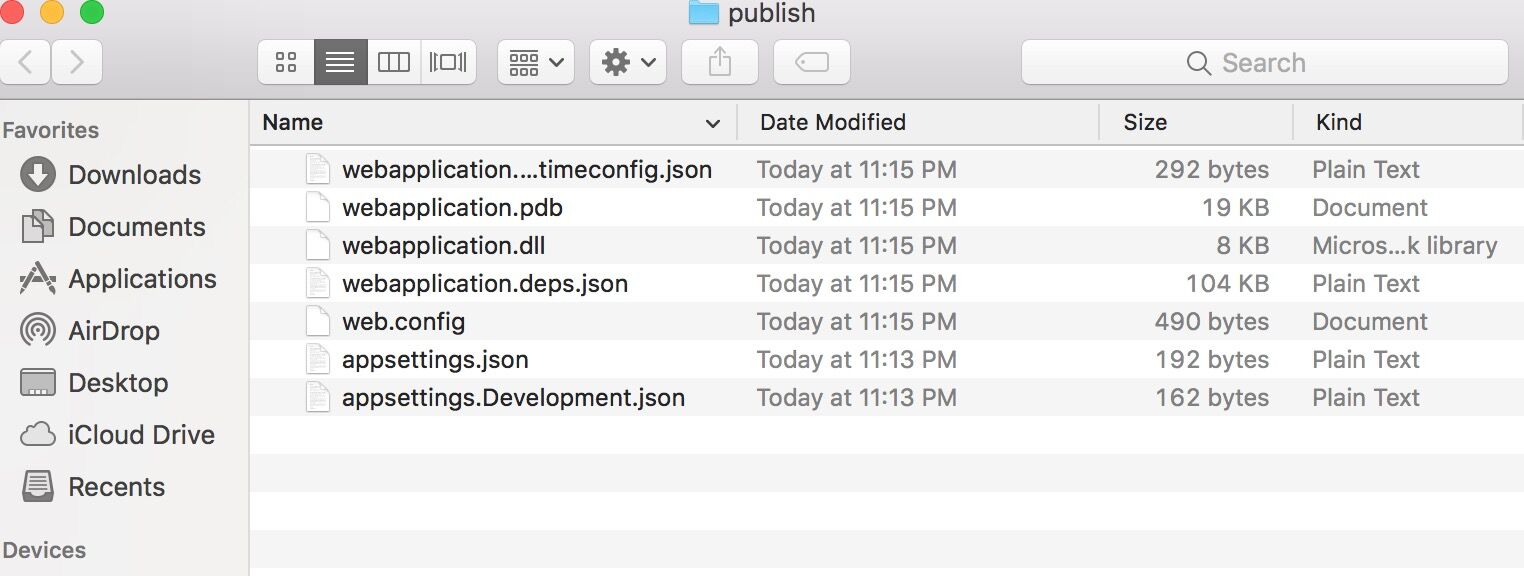
Once publish completes successfully a Finder window will open to the publish folder. Now that a publish profile has been created, it will be displayed in the Publish context menu.
To publish the project again with the same settings you can click on the profile in the publish context menu.
After publishing to a folder you can transfer the files to our server by FTP. You can check your account FTP info in your hosting control panel >>FTP section.
Article ID: 2215, Created: March 29, 2022 at 9:41 AM, Modified: April 3, 2022 at 6:32 AM