2. After Report Builder has finished downloading, click Run.
This launches the SQL Server Report Builder Wizard.
3. Accept the terms in the license agreement and click Next.
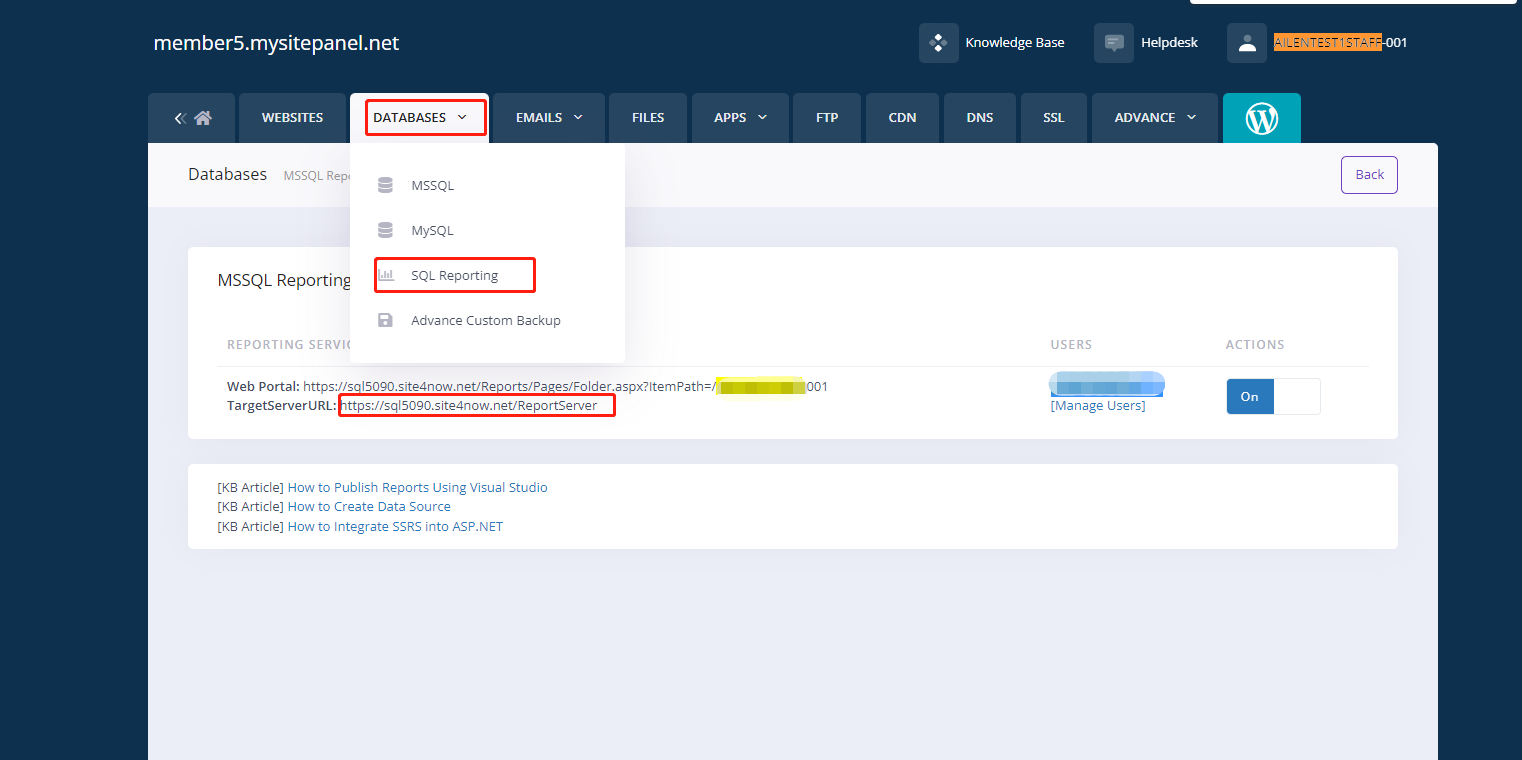
4. On the Default Target Server page, you can get the Target Server URL from your Control Panel>>DATABASES>>SQL Reporting like the below screenshot. then Click Next.
5. Click Install to complete the installation of Report Builder.
6. Open the Report Viewer, then it will require you to enter the report login account, and you can get it from the previous screenshot of the USERS option.
7. Then you can create a new report with the report builder and start the design.
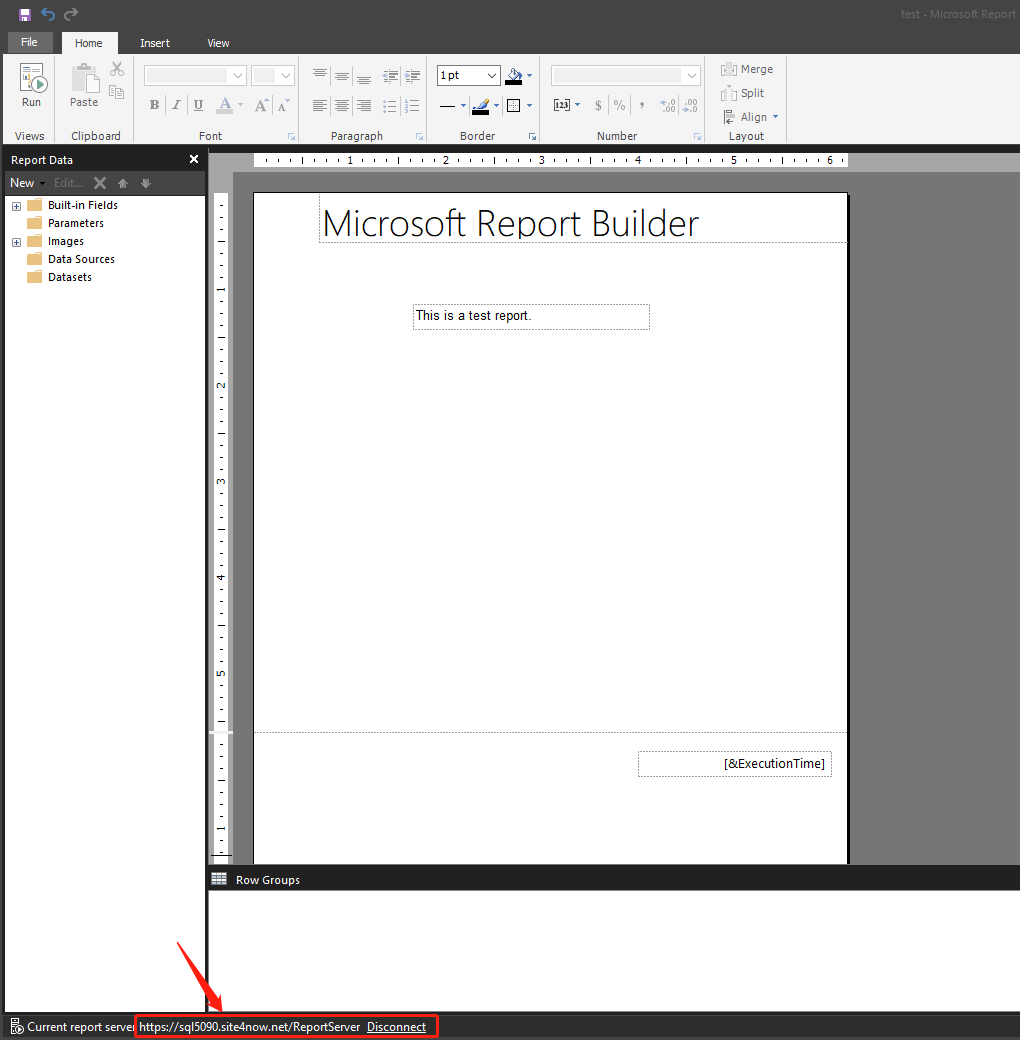
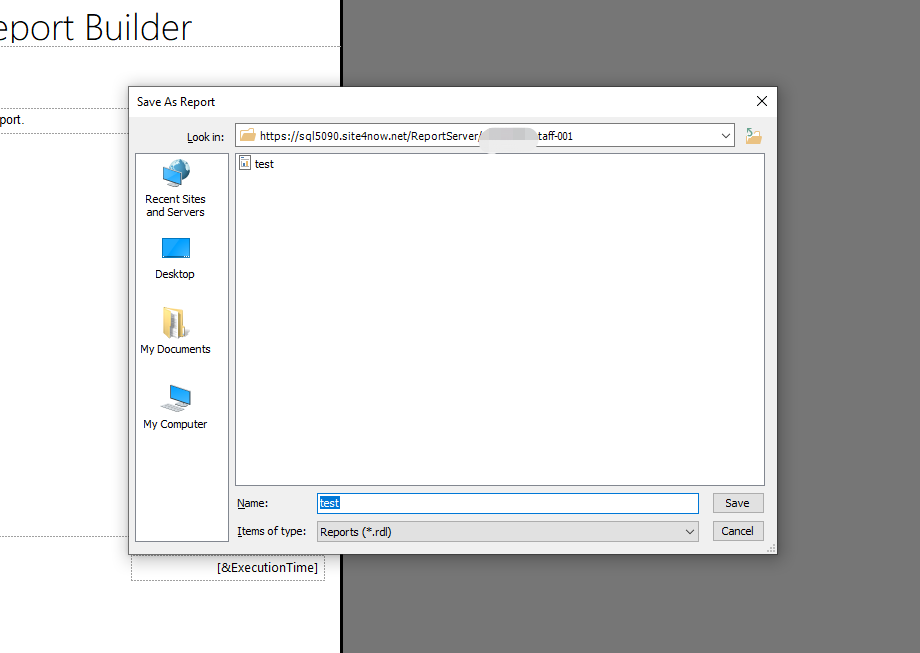
8. When you finished the report design and run it without any issues you can refer to the below screenshot and go to Report Builder>>File>>Save As to save this report to our online report server. (please store your report in your own folder like xxxxxx-001 folder.)
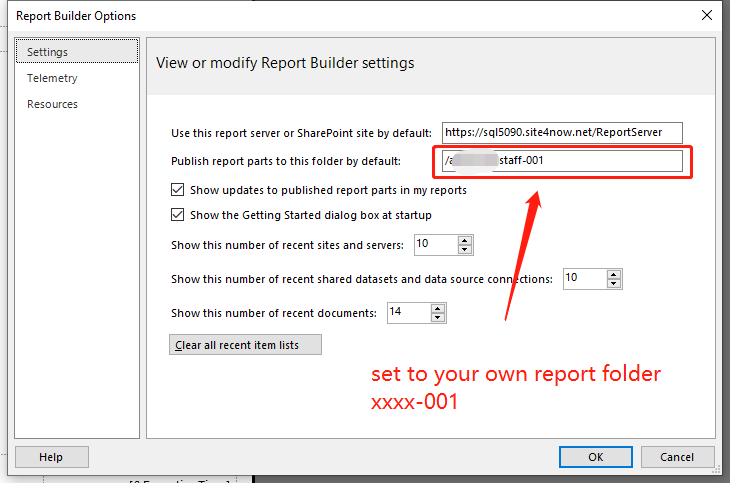
Also, you can refer to the below screenshot and go to Options to set the default value for your report server
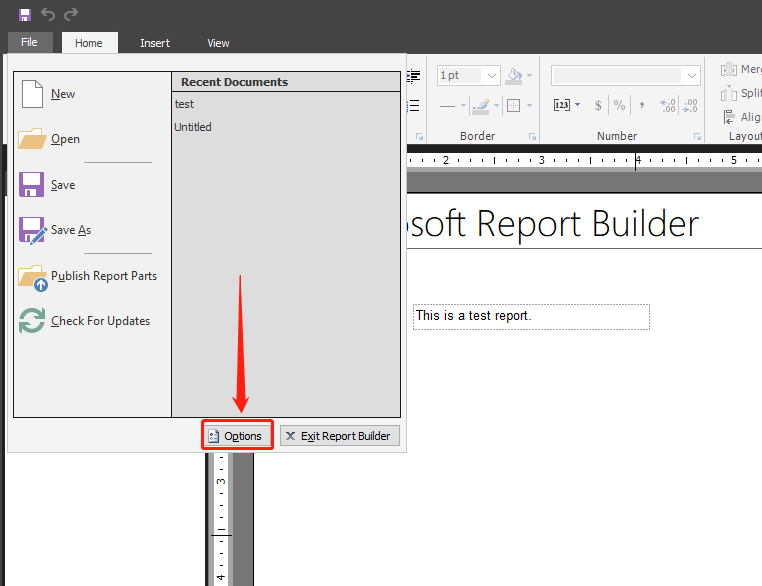
Such as set the default report folder like the below screenshot.
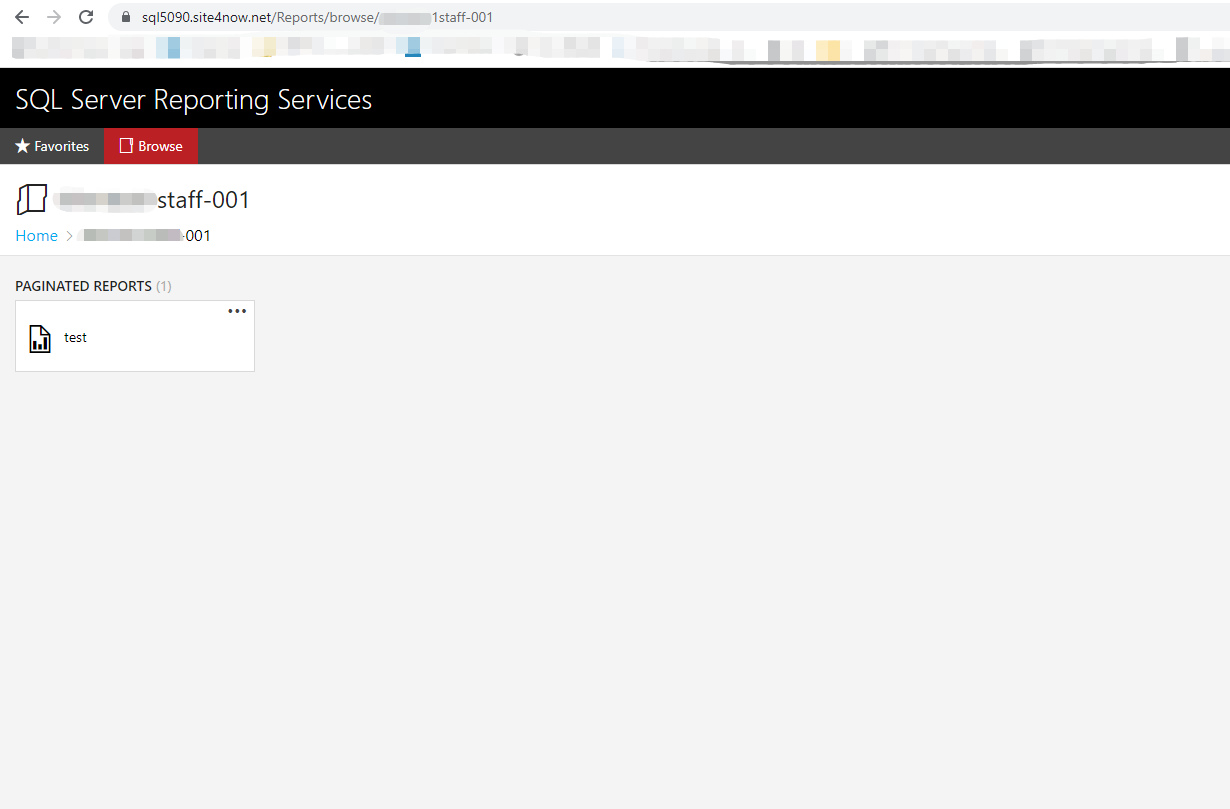
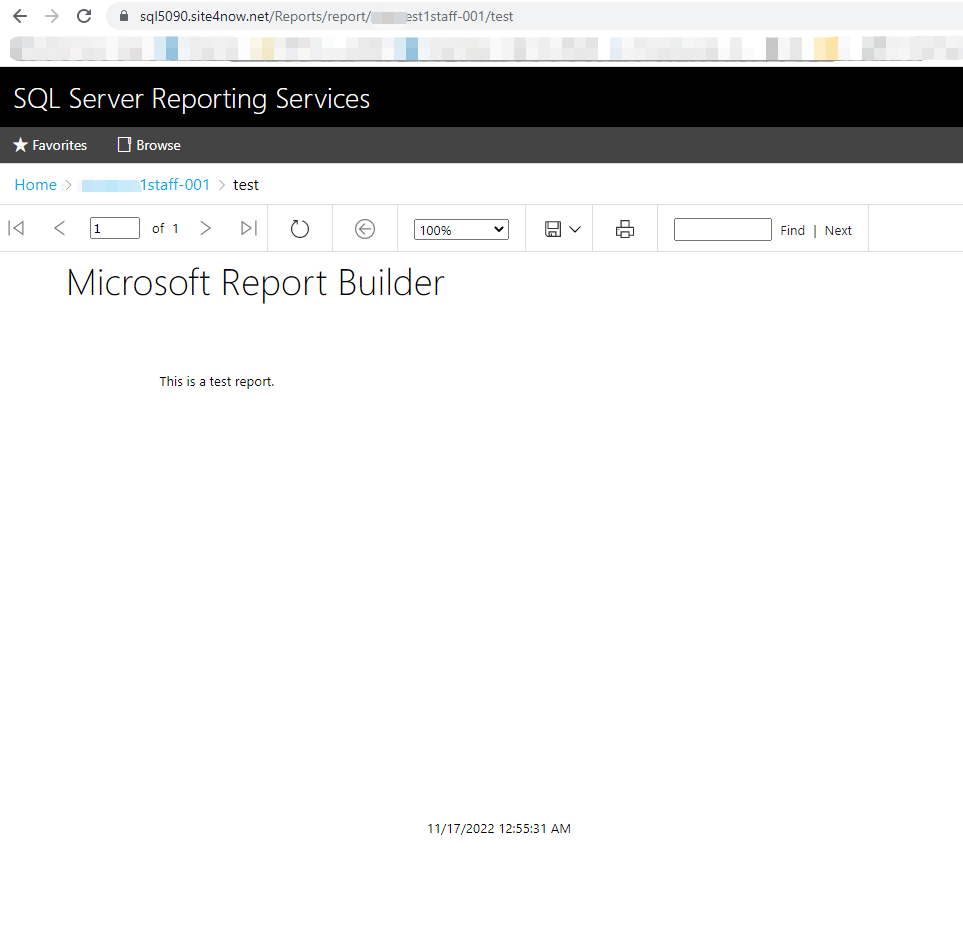
After you saved the report to our online server you will able to use our Web Portal: https://sql5090.site4now.net/Reports/Pages/Folder.aspx?ItemPath=/xxxxx-001 to access your online report like the below screenshots.
Article ID: 2238, Created: November 17, 2022 at 12:51 AM, Modified: November 17, 2022 at 1:20 AM