1. To use Web Deploy in Visual Studio, you must first Enable It. To enable, please login to your Control Panel -> My Websites->web deploy.
You'll also find all the necessary publishing setting there. Please be sure to enable 'Allow Untrusted Certificate' when you publish.
To use Web deploy function publish site to hosting account with Visual Studio 2012, please follow the instructions below.
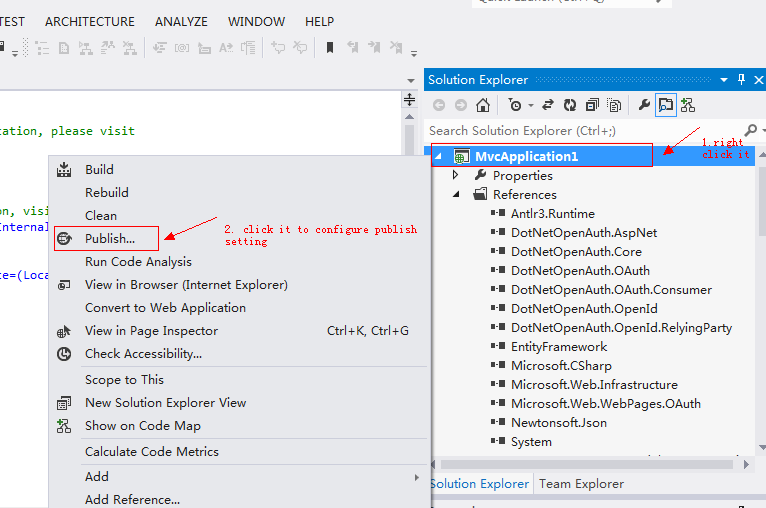
2. Open your web application with Visual Studio 2012, right click the web application, then click "Publish" to start.
 3. Create new publish connection if you do not have
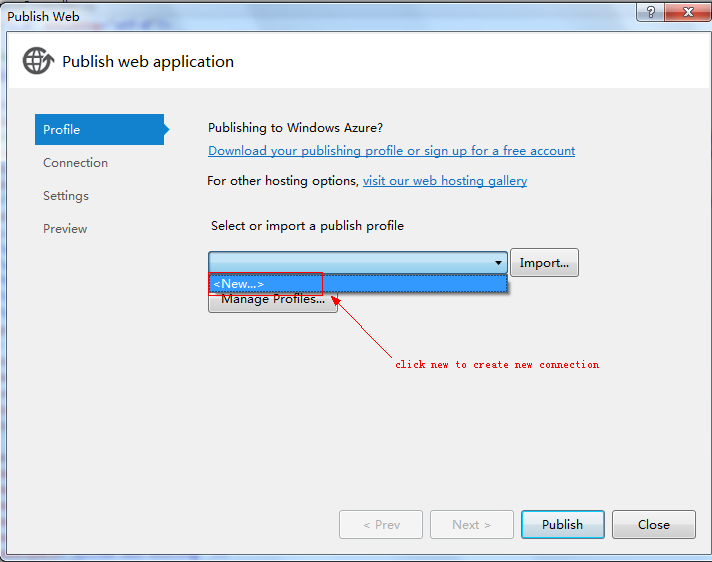 4. Set a name for the new connection
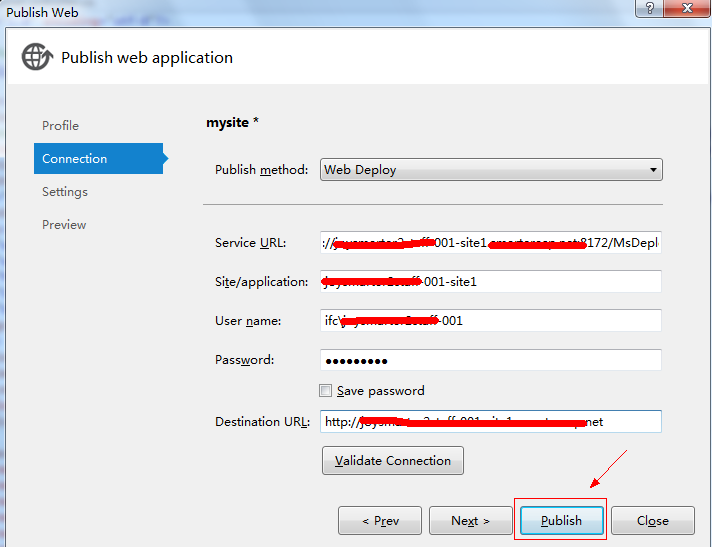
 5. Fill your Web Deploy publish login information, validate the connection to check if it is ok, and remember to accept the certificate warnning message.
You can find the publish login information from your hosting control panel-->IIS manager -->VS Web Deploy
Service URL:https://yourusername-001-site1.Dreamnix.com:8172/MsDeploy.axd
Site/Application: yourusername-001-site1
Username: ifc\yourusername-001
Password: It is your hosting account password by default
Destination URL: http://
yourusername-001-site1.Dreamnix.com (You can replace the temp url as your own domain when you have your own domain pointing to the site.)
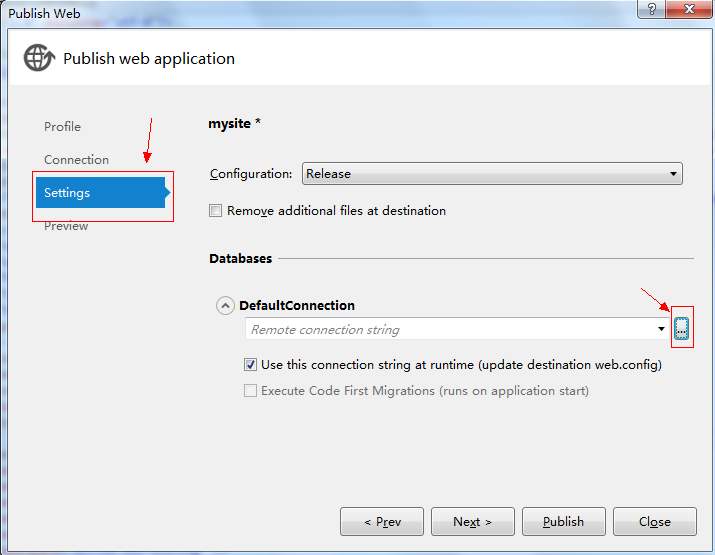
 6. If there is no database which need to publish, just click "publish" to publish the website files to web server. If there is a database which needs to be published as well. please go step7 below
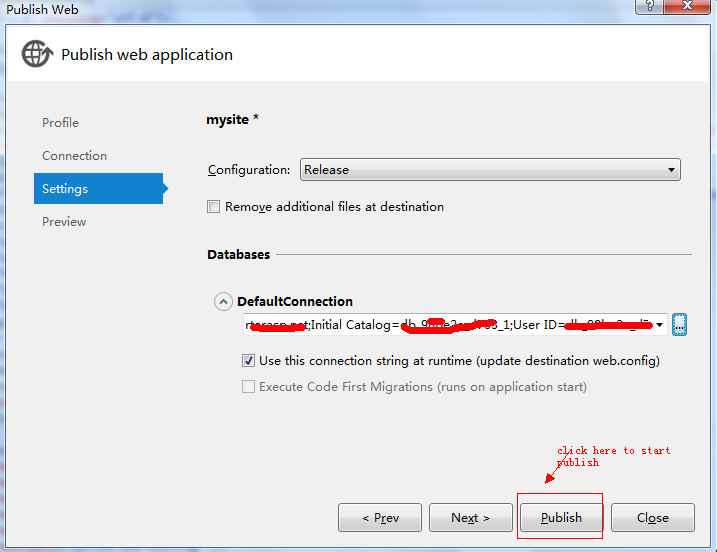
7. Click "Settings" and then click more button beside the "default connection"
6. If there is no database which need to publish, just click "publish" to publish the website files to web server. If there is a database which needs to be published as well. please go step7 below
7. Click "Settings" and then click more button beside the "default connection"
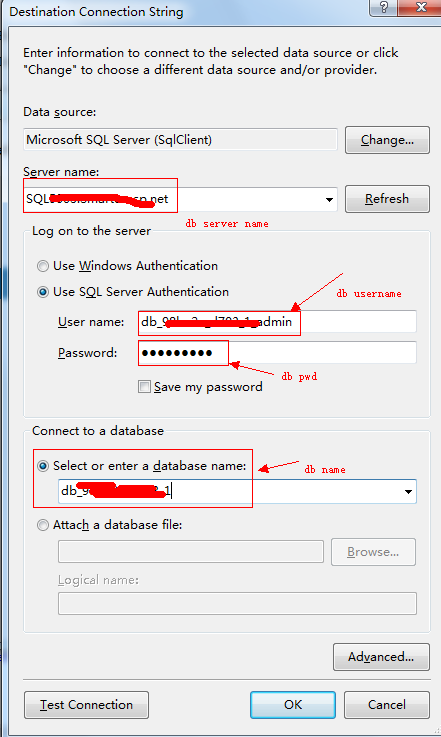
 8. Fill the new database login info you created from control panel (If you do not have create the database, please click here to check how to create it ),and click "OK"
Please confirm your database login info from your hosting control panel-->Database Manager-->MSSQL Manager
Server name: Fill the database
'Server URL'
User name:Fill the database
'Login Name'
Password: Fill the
database password
Select or enter a database name: Fill the database
'Database Name'
 9. then go publish it
Article ID: 367, Created: March 20, 2013 at 1:36 AM, Modified: January 4, 2017 at 8:46 PM